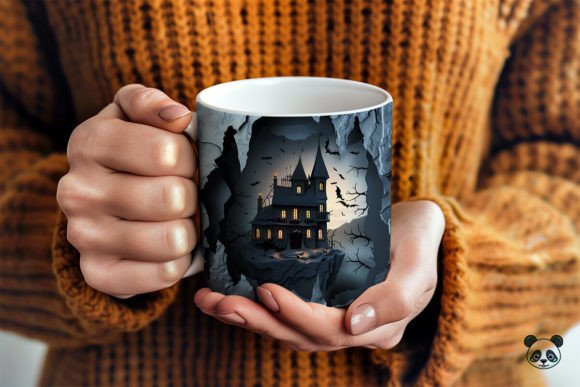
Haunted House 3D Mug Wrap: A Practical Guide to Flawless Sublimation Results
The allure of seasonal merchandise lies in its ability to capture a specific mood, and few designs evoke the spirit of autumn quite like a Haunted House 3D Mug Wrap. For creators, small business owners, and hobbyists, this digital asset offers a shortcut to producing high-quality, spooky-themed drinkware. However, the gap between downloading a file and pressing a perfect mug is often wider than anticipated. Many enthusiasts rush into the process, assuming that any digital file will yield professional results. This assumption is the primary source of frustration in the sublimation community.
Understanding the nuances of a sublimation mug wrap is essential for avoiding wasted materials and time. Whether you are designing a personalized mug for a friend or creating inventory for a Halloween sale, the quality of your final product depends heavily on your preparation and technical knowledge. This guide addresses common pitfalls associated with using 3D mug design files and provides actionable advice to ensure your sublimation printing projects succeed.
Misunderstanding File Formats and Compatibility
One of the most frequent errors beginners make is misidentifying the file type they have purchased. When you acquire a digital mug wrap, it is crucial to verify the format immediately. The Haunted House 3D Mug Wrap typically comes as a high-resolution PNG file with a transparent background. This format is ideal for layering in design software because it allows the underlying mug color or other design elements to show through where intended.
A critical mistake is assuming these files are vector-based SVGs. They are not. Mug wrap clipart and full-wrap designs in PNG or JPG format are raster images. This means they cannot be scaled infinitely without losing quality, nor can they be used directly with cutting machines like Cricut or Silhouette for vinyl applications. If you attempt to use a sublimation bundle PNG as a cut file, you will face immediate technical barriers. Always check the file extension before purchasing. If your workflow relies on cutting vinyl, a sublimation-specific PNG will not serve your needs. Conversely, if you are heat pressing, ensure your software supports high-resolution PNGs to maintain the crispness of the mug artwork.
Overlooking Dimensions and Printer Settings
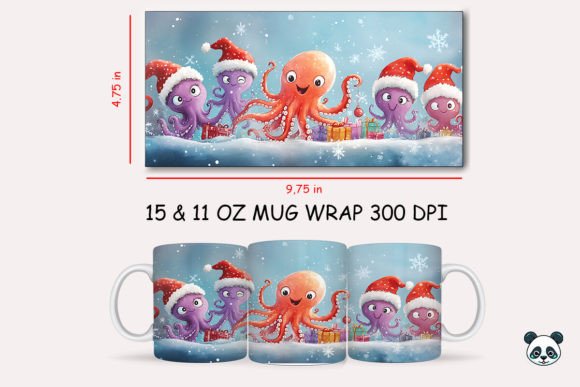
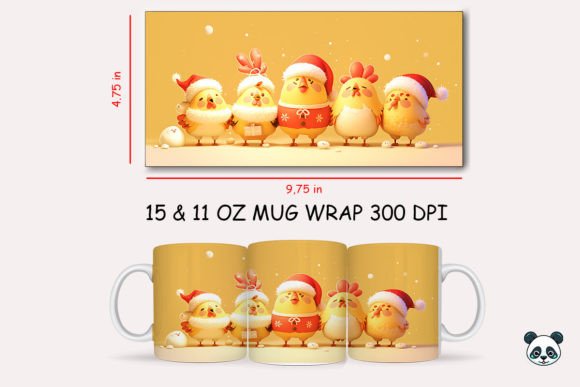
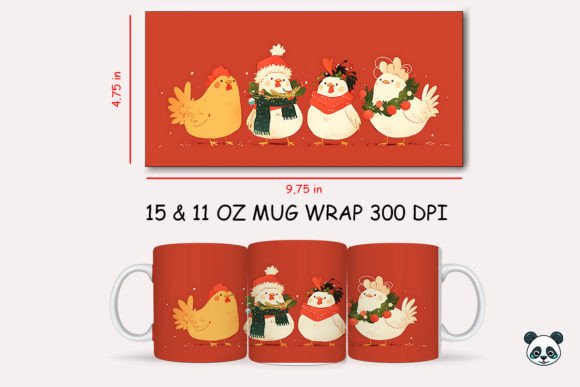
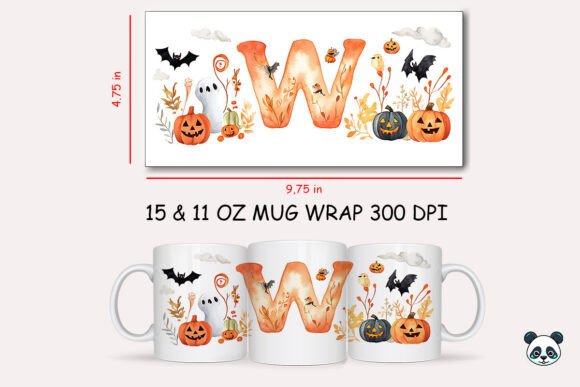
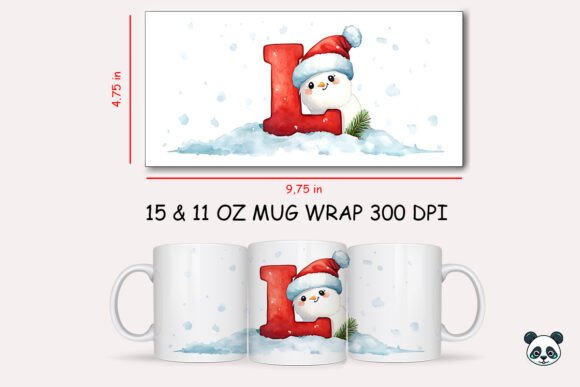
Another area where creators stumble is ignoring the specific dimensions required for their mugs. The standard mug wrap template size is approximately 9.75 inches by 4.75 inches. This measurement is not arbitrary; it corresponds to the printable area of a standard 11-ounce cylindrical mug. Using a design that is too small will result in white gaps or awkward stretching, while a design that is too large may get trimmed off or cause wrinkling during the press.
Before sending your custom mug design to the printer, verify the resolution. The provided files should be at 300 DPI (dots per inch). Printing at a lower resolution, such as 72 DPI commonly found in web images, will result in pixelated, blurry sublimation graphics. This degradation ruins the immersive effect of the 3D design, making the haunted house look amateurish rather than eerie. Always preview your print at 100% zoom on your screen to catch any potential clarity issues before committing ink and paper.
Neglecting the Importance of Paper and Ink Quality
Even with a perfect mug wrap illustration, your results can suffer if you neglect the physical materials. Sublimation is a chemical process where solid ink turns into gas under heat and bonds with polyester coatings. Using standard office paper or incompatible inkjet cartridges will lead to poor color transfer. The ink may bleed, resulting in muddy blacks and washed-out oranges in your haunted house scene.
To achieve vibrant mug decoration, use dedicated sublimation paper and genuine sublimation ink. Cheap alternatives often hold too much moisture or release ink unevenly. Furthermore, ensure your printer settings are configured for "high quality" or "photo" printing. Standard draft modes save ink but sacrifice the detail necessary for complex digital art. When working with a Haunted House 3D Mug Wrap, the depth and shadow details are what create the 3D illusion. Compromising on print quality flattens this effect, turning a dynamic scene into a dull image.
Improper Heat Press Techniques
The application phase is where many promising projects fail. A common misconception is that higher heat or longer press times yield better results. In reality, excessive heat can scorch the paper or cause "ghosting," where the image shifts slightly, creating a double-vision effect. For a standard ceramic sublimation mug, the typical setting is around 380°F (193°C) for 180 seconds, but this can vary based on your specific press and mug supplier.
Pressure is equally important. Uneven pressure leads to patchy transfers, where parts of the mug wrap set appear faded. Use heat-resistant tape to secure the printable mug wrap tightly against the mug. Ensure there are no wrinkles or air bubbles, as these will prevent the ink from bonding correctly. After pressing, remove the paper carefully while the mug is still hot to avoid re-depositing ink onto the surface. Allow the mug to cool completely before handling to prevent smudging.
Failing to Plan for Color Variations
Digital screens and physical prints rarely match perfectly. What looks like a deep, ominous purple on your monitor may print as a lighter lavender. This discrepancy is normal but can be jarring if unanticipated. Before launching a full batch of custom design mugs, always perform a test print. Evaluate the colors under natural light, not just artificial office lighting.
If your sublimation elements appear too dark, adjust the brightness and contrast in your editing software. Most mug wrap collections benefit from a slight increase in saturation to compensate for the absorption of the coating. Keep notes on your adjustments so you can replicate the success for future orders. This iterative process is key to mastering 3D sublimation and ensuring consistent quality across your product line.
What Is Included and How to Use It
When you purchase the Haunted House 3D Mug Wrap, you receive an instant digital download containing one ZIP file. Inside, you will find a single PNG file sized at 9.75 inches by 4.75 inches at 300 DPI. This file is ready for immediate use in any design program that supports PNG formats, such as Photoshop, Canva, or Illustrator.
- File Type: PNG with transparent background.
- Resolution: 300 DPI for sharp printing.
- Usage: Suitable for sublimation printing only.
- Compatibility: Requires a computer to unzip and edit.
Remember, this is a digital product. No physical mugs or printed papers are shipped. You must have the necessary equipment—printer, sublimation ink, paper, heat press, and blank mugs—to bring the design to life. By understanding these requirements and avoiding common technical errors, you can leverage this mug wrap template to create stunning, professional-grade Halloween merchandise that stands out in a crowded market.